Overview
After building and optimizing your RAG pipeline, the final step is integrating it with your applications or AI assistants. Graphor offers two primary integration methods:- REST API - Direct HTTP endpoint integration for custom applications
- MCP Server - Model Context Protocol integration for AI assistants like Claude and Cursor
Prerequisites
Before integrating your Graphor workflow, ensure you have:- A fully configured and tested RAG pipeline in Graphor
- A deployed flow revision with 100% traffic allocation
- API tokens for authentication (generated in the API Tokens section)
Integration Methods
REST API Integration
The REST API provides a simple HTTP endpoint that allows applications to send queries and receive structured responses from your RAG pipeline.Endpoint
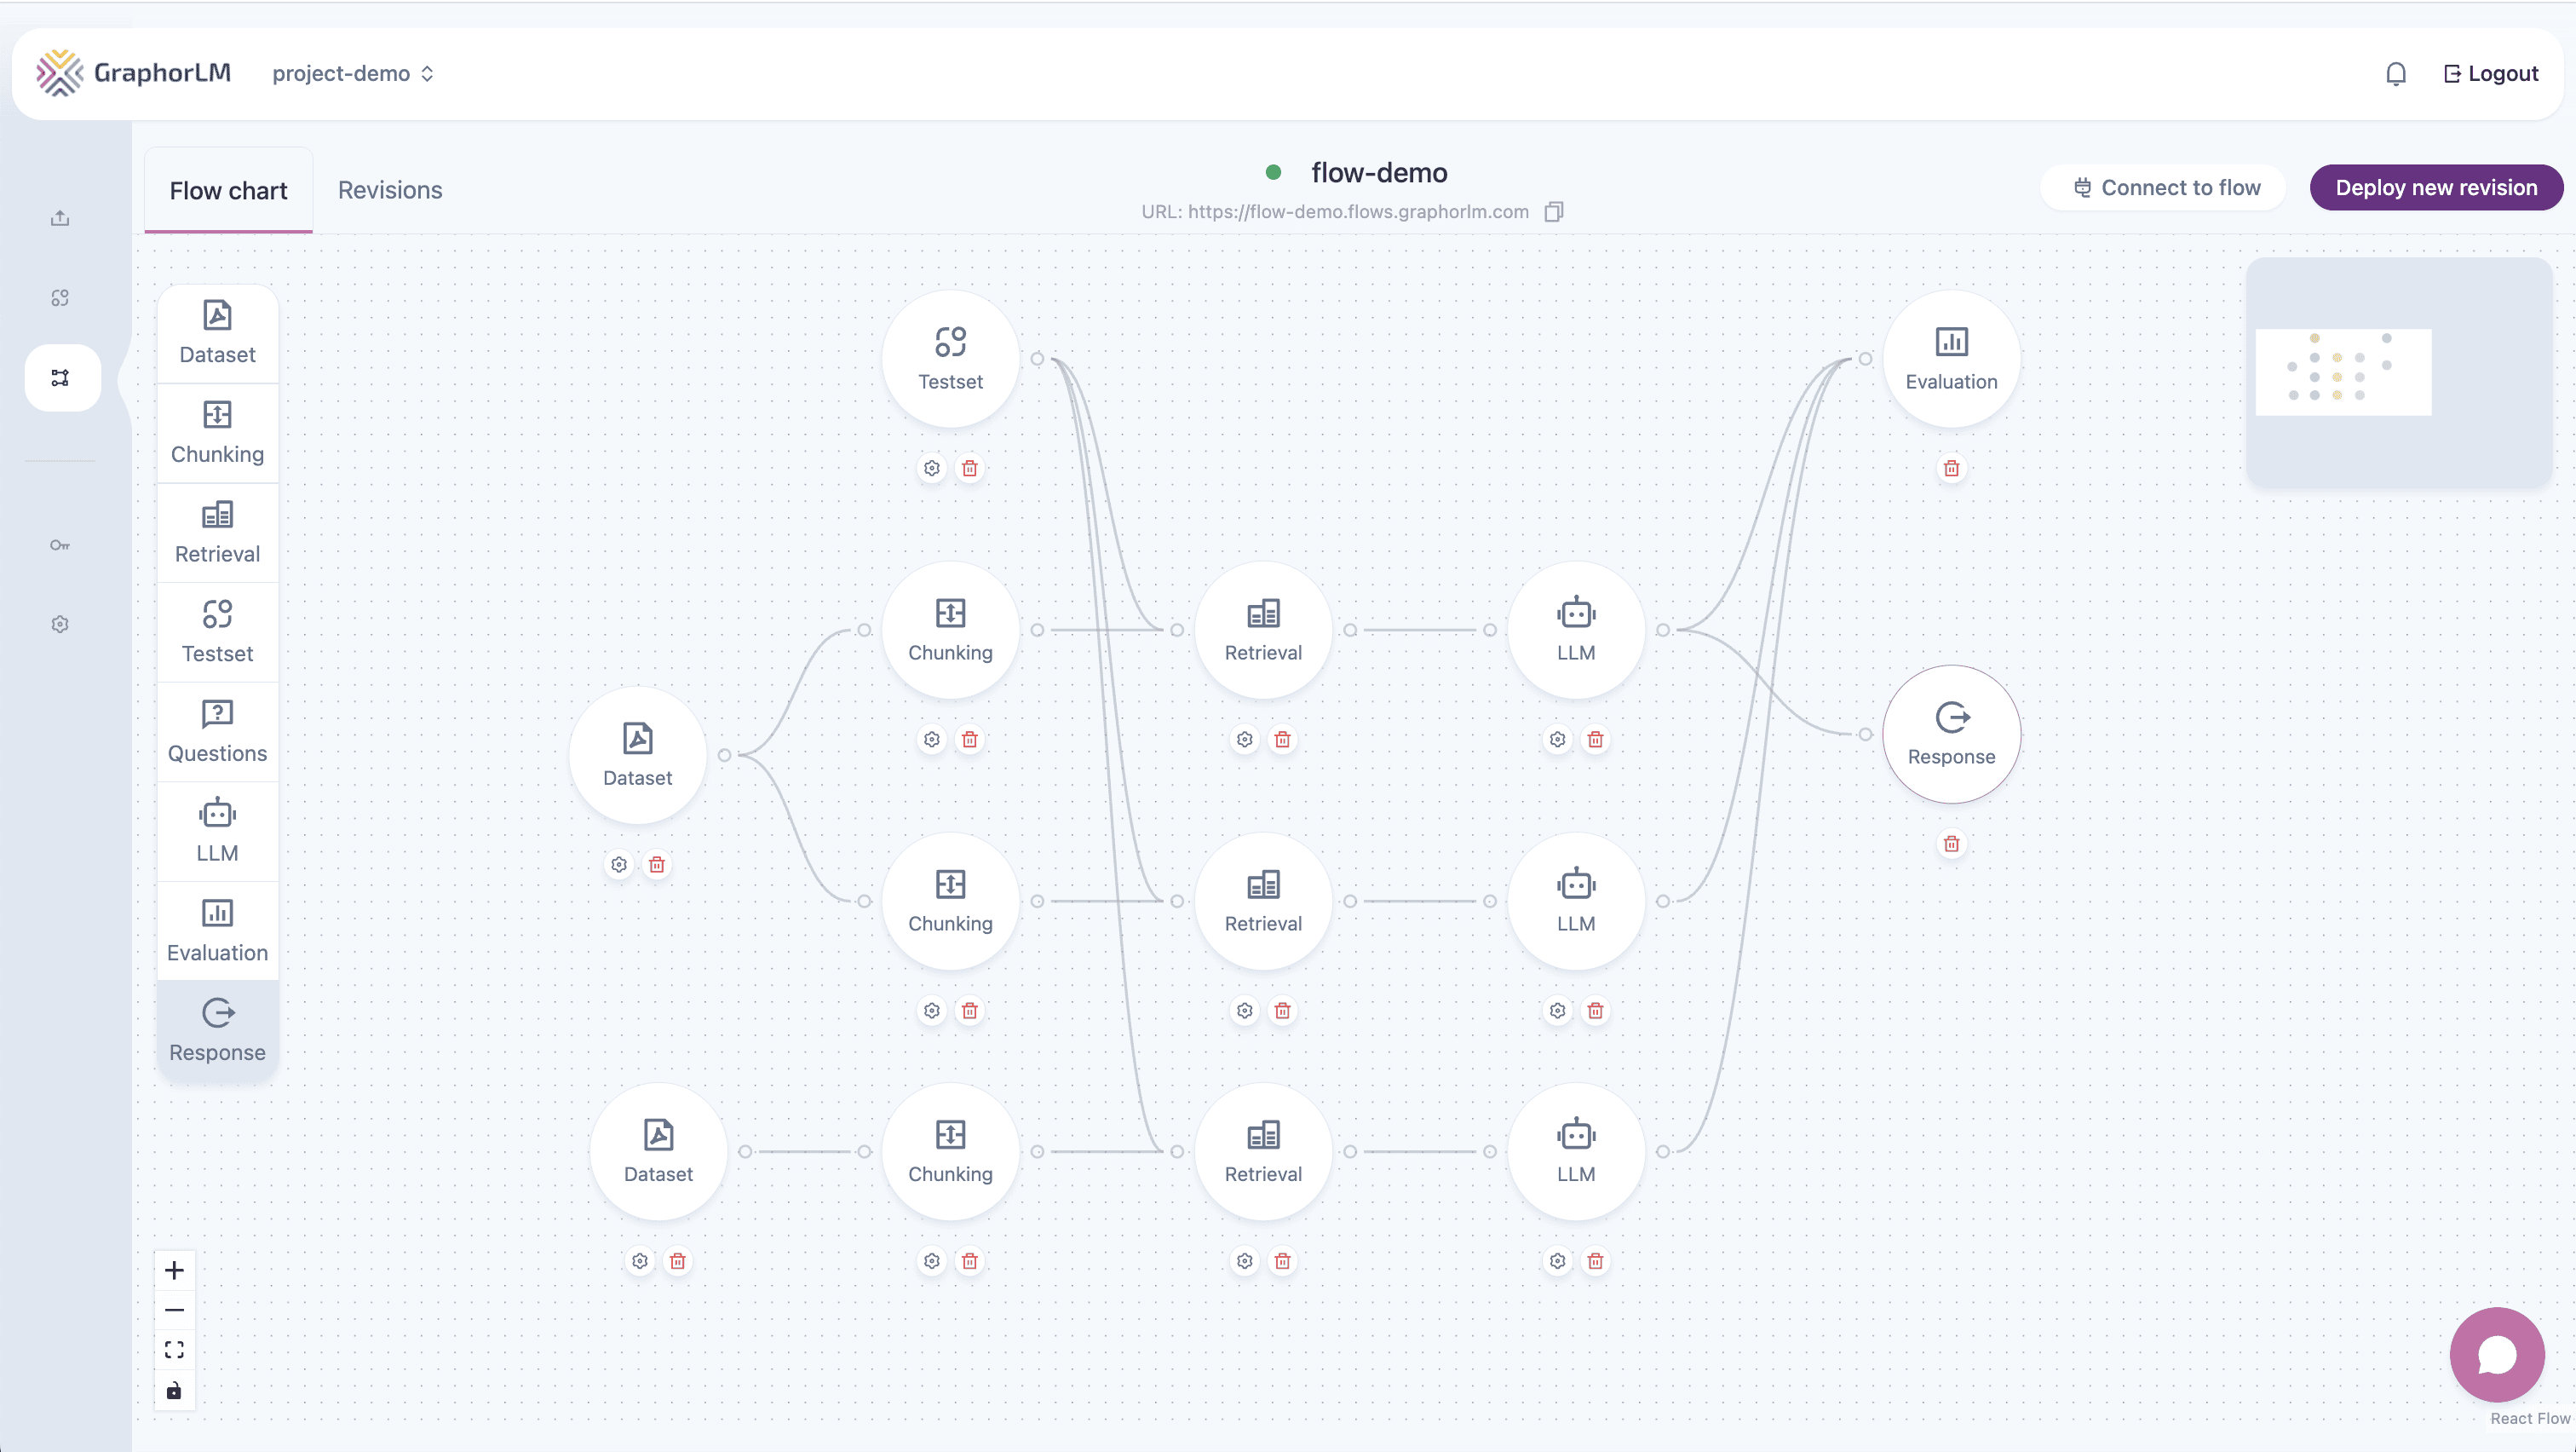
When you deploy a flow, a unique endpoint URL is created. You can find this URL by:- Opening your flow in the Flow Builder
- Clicking the Connect to flow button
- Selecting the REST API tab
Authentication
All API requests require authentication using a Bearer token:- Navigate to the API Tokens section in your project
- Click Create New Token
- Name your token and set appropriate permissions
- Copy the generated token (Note: It will only be shown once)
- Include the token in the
Authorizationheader of your requests asBearer YOUR_API_TOKEN
Request Format
Send a POST request with a JSON body containing the following optional parameters:| Parameter | Type | Description |
|---|---|---|
query | string | The search query for your RAG pipeline |
page | number | The page number for pagination (default: 1) |
page_size | number | Number of items per page (default: None) |
Example Request
Response Format
The API returns a JSON object with the following structure:| Field | Type | Description |
|---|---|---|
items | array | Documents matching your query |
total | number | Total number of matching documents |
page | number | Current page number |
page_size | number | Number of items per page |
total_pages | number | Total number of pages |
Example Response
MCP Server Integration
The MCP (Model Context Protocol) Server integration allows AI assistants like Claude and Cursor to directly utilize your RAG pipeline as a tool, enabling more natural and powerful interactions.Finding Your MCP Endpoint
To locate your flow’s MCP endpoint:- Open your flow in the Flow Builder
- Click the Connect to flow button in the top right corner
- Select the MCP Server tab
- You’ll see the complete MCP endpoint URL in the following format:
- This is the URL you’ll need to configure in your MCP client
What is MCP?
Model Context Protocol (MCP) is an open specification for connecting language models to external tools and data sources. It allows AI assistants to:- Access your RAG pipeline’s knowledge base
- Use the retrieved information to generate better responses
- Maintain context across interactions
- Dynamically fetch relevant information based on the conversation
Tool Description Importance
When deploying your flow for MCP Server integration, providing a detailed tool description is critical. This helps AI assistants understand:- When to use your RAG pipeline
- What kind of queries it can handle
- What information it contains
- Any limitations or special considerations
Example Tool Description
Setting Up MCP Server Integration
Follow these steps to connect your RAG pipeline to AI assistants using MCP:Step 1: Install UV Library
Install the UV library using the appropriate command for your operating system:- macOS:
brew install uv - Linux:
curl -LsSf https://astral.sh/uv/install.sh | sh - Windows:
winget install uv
Step 2: Obtain an API Token
Create an API token from the API Tokens page in your Graphor project.Step 3: Configure MCP Server Connection
For Claude Desktop
-
Find or create the Claude Desktop config file at:
- macOS/Linux:
~/Library/Application Support/Claude/claude_desktop_config.json - Windows:
%APPDATA%\Claude\claude_desktop_config.json
- macOS/Linux:
- Add the following configuration to the file:
-
Replace
your-flow-namewith a unique name for MCP server andYOUR_API_TOKENwith your API token. - Restart Claude Desktop.
For Cursor
- Go to Settings → Cursor Settings
- Navigate to the MCP tab
- Click on “Add new global MCP server”
- This will open the Cursor MCP configuration file (mcp.json)
- Add the following configuration to the file:
- Replace
your-flow-namewith a unique name for your MCP server andYOUR_API_TOKENwith your API token.
Step 4: Using MCP in Cursor Chat
To use your MCP flow in Cursor’s chat:- Open a chat in Cursor
- Click on the mode menu (usually shows “Manual” by default)
- Select “Agent” from the dropdown menu
- Your configured MCP flow will now be available for use in the chat
Integration Best Practices
REST API
- Cache responses: Implement caching to reduce API calls for common queries
- Handle errors gracefully: Implement proper error handling for API failures
- Monitor usage: Keep track of API usage to optimize performance
- Implement rate limiting: Protect your endpoints from excessive requests
MCP Server
- Create detailed tool descriptions: Be specific and comprehensive to help AI assistants use your tool effectively
- Update tool descriptions: Refine descriptions based on observed usage patterns
- Test different queries: Verify that a wide range of query types work as expected
- Provide examples: Include sample queries in your tool description
Troubleshooting
Connection issues
Connection issues
Solutions:
- Verify that your flow has an active deployed revision
- Check that your API token is valid and has the correct permissions
- Ensure the endpoint URL is correct
- Verify network connectivity
Authentication errors
Authentication errors
Solutions:
- Generate a new API token
- Make sure you’re using the correct Bearer token format in the Authorization header
- Check if the token has expired
- Verify the token has the necessary permissions
MCP tool not appearing
MCP tool not appearing
Solutions:
- Restart the client application (Claude Desktop or Cursor)
- Verify the MCP configuration is correctly formatted
- Check that the UV library is installed
- Ensure the flow is properly deployed with 100% traffic allocation