Step 1: Create Your Project
- Sign up for a Graphor Cloud account
- Login at app.graphorlm.com/login
- Click New project and give it a name
Step 2: Upload a Document
The fastest way to add a document is to drag and drop it directly onto the Sources page.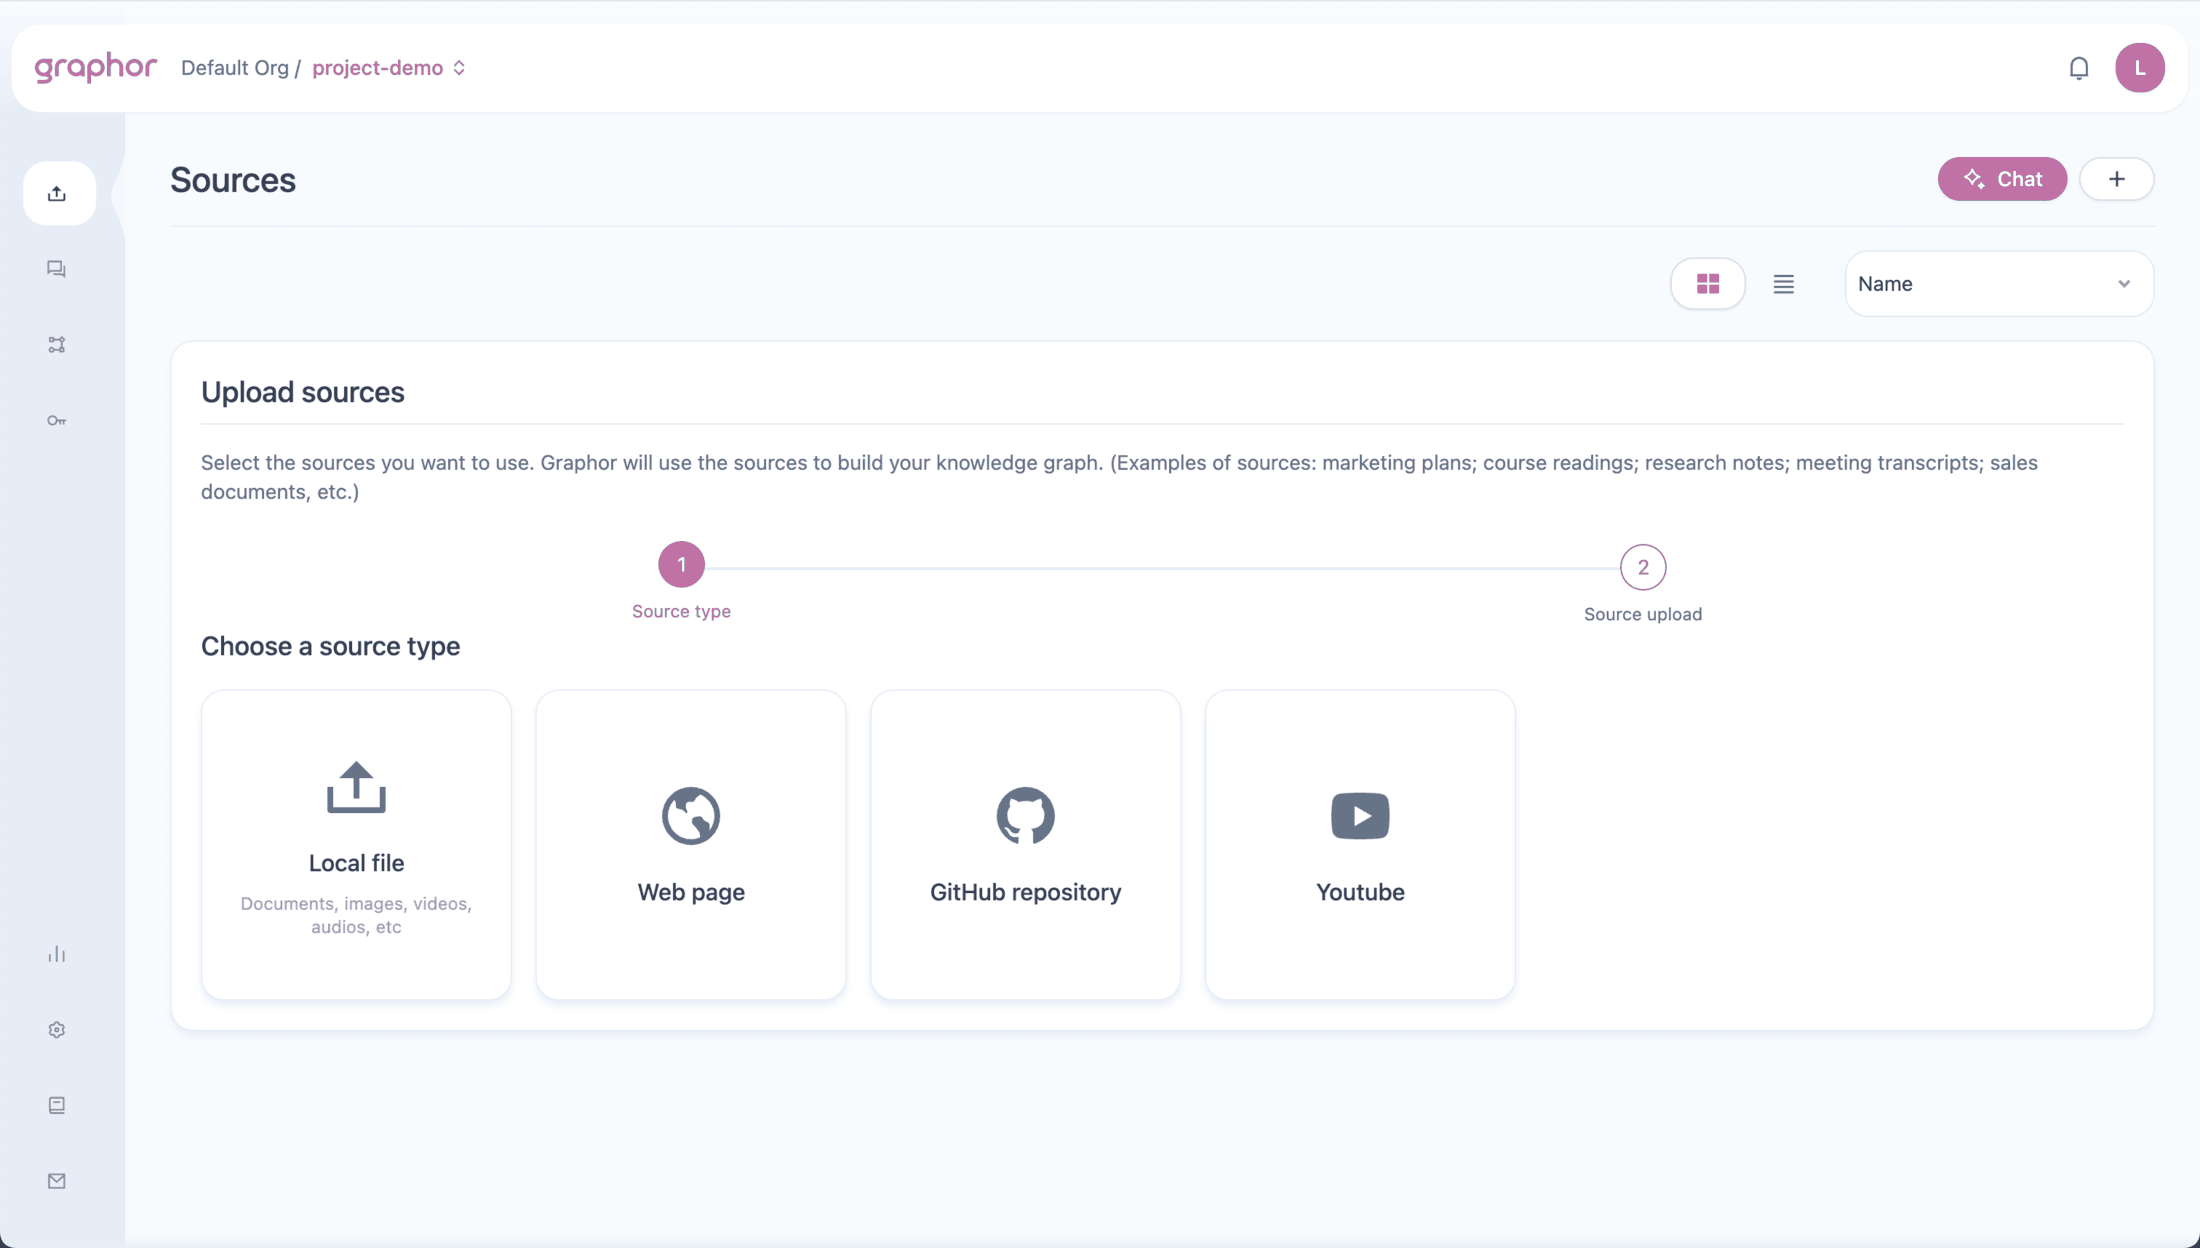
Navigation tip: Single-click on a source to select it. Double-click to open Source details.
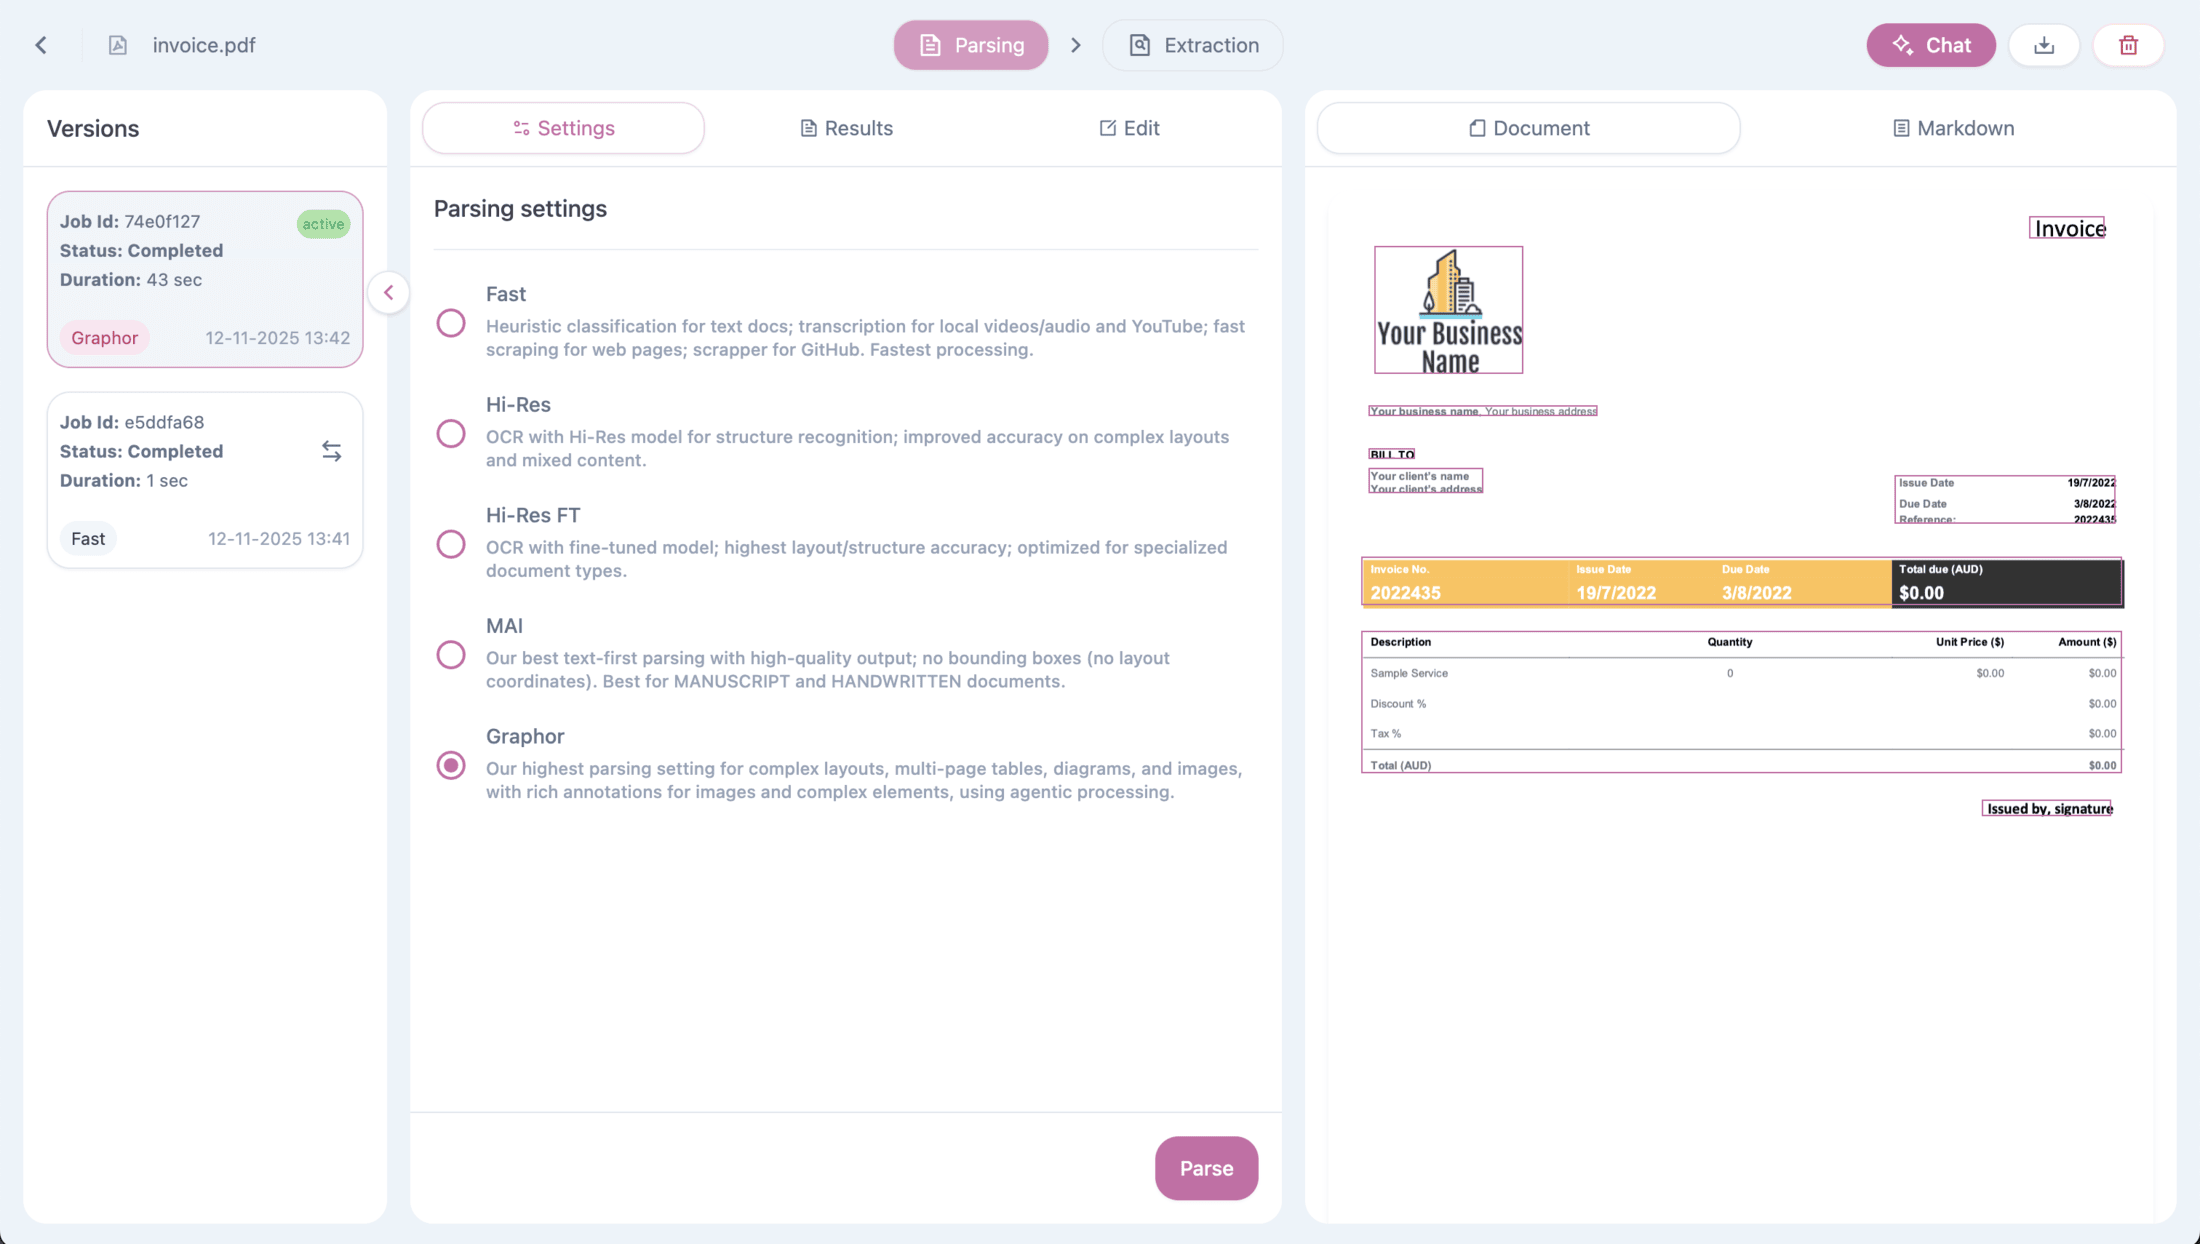
Step 3: Apply Advanced Parsing
For complex documents, you can apply more powerful parsing methods:| Method | Best For |
|---|---|
| Fast | Simple text documents (default) |
| Balanced | Complex layouts with OCR |
| Accurate | Specialized documents requiring highest accuracy |
| Agentic | Multi-page tables, diagrams, images with rich annotations |
- Double-click on your document to open Source details
- Go to the Settings tab
- Select a parsing method
- Click Parse
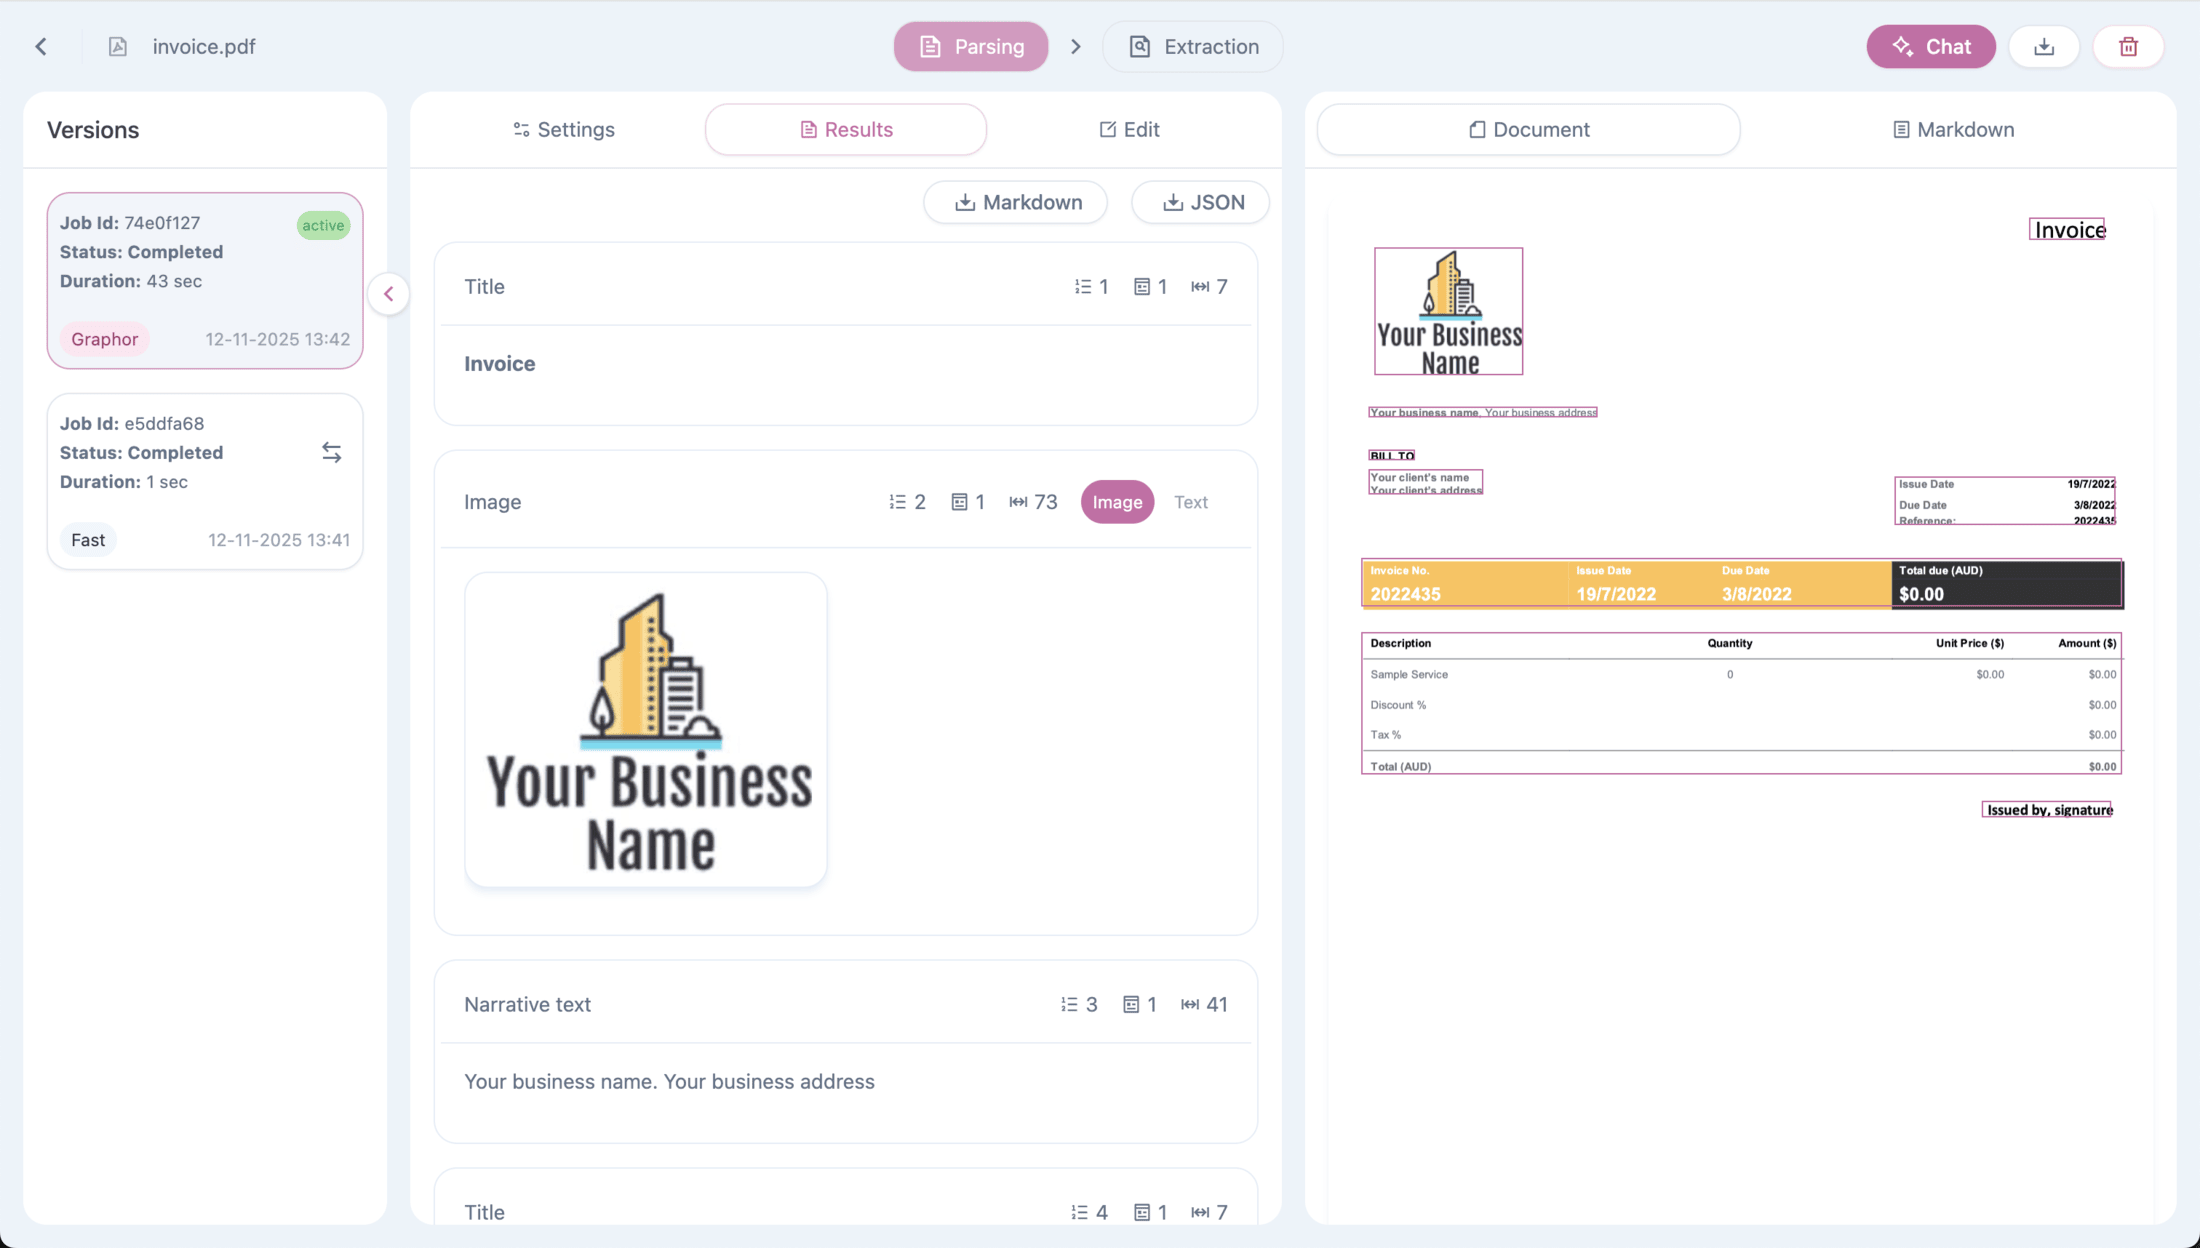
Viewing Results
After parsing, check the Results tab to see:- Document view — Visual preview of parsed content
- Markdown view — Raw text output
- Page navigation — Browse multi-page documents
For detailed information about parsing methods and options, see the Data Ingestion guide.
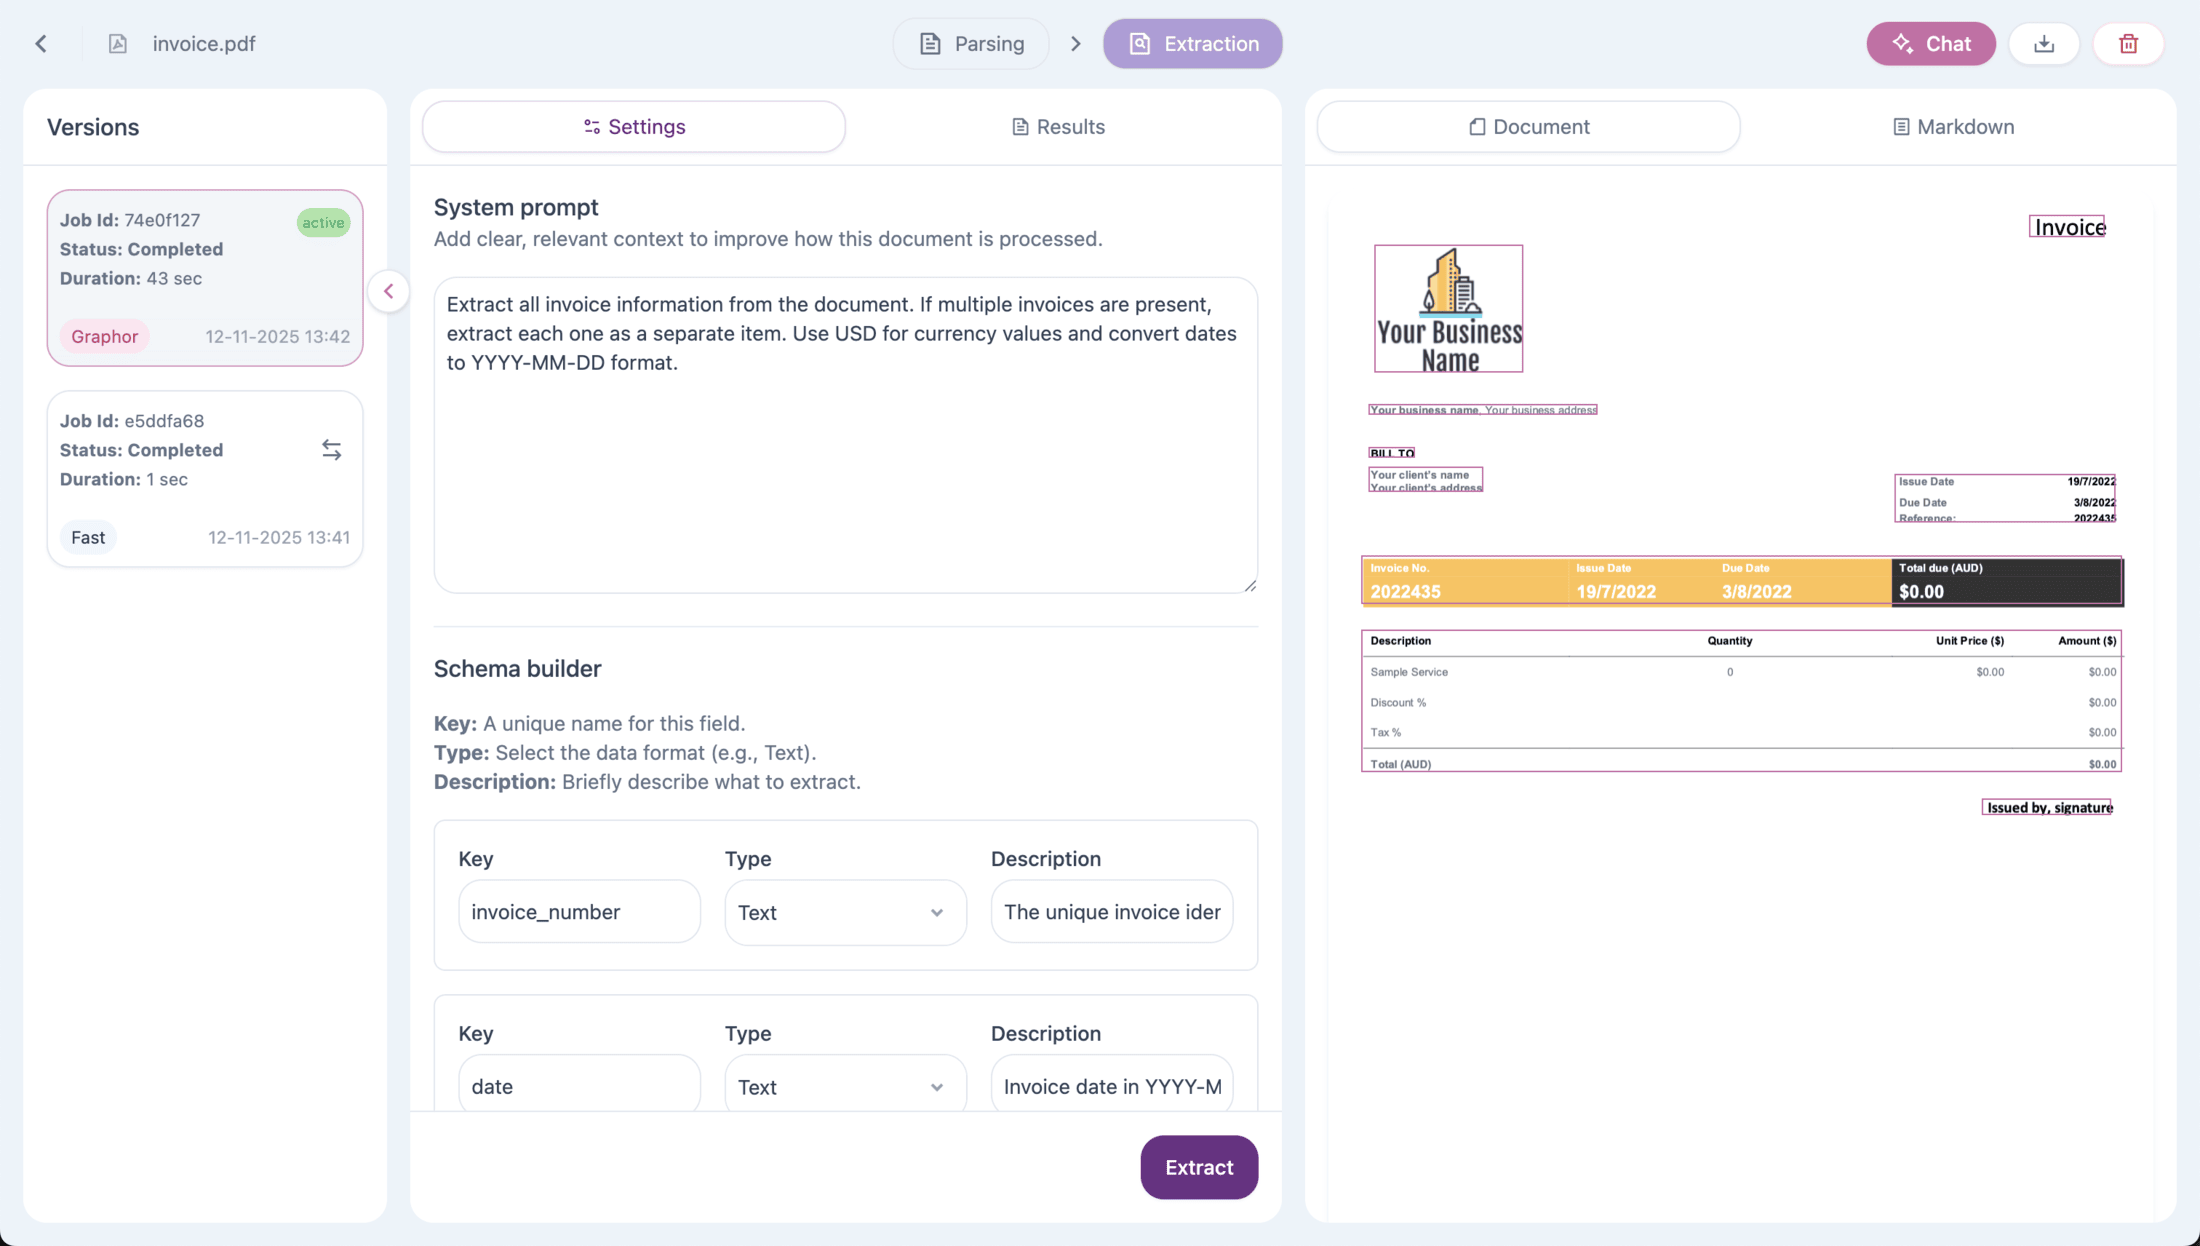
Step 4: Extract Structured Data
Transform your documents into structured data using LLM-powered extraction.- In Source details, go to the Extraction tab
- Add instructions to guide the extraction (optional)
- Define your schema with fields:
- Field name: e.g.,
invoice_number - Field type: Text, Number, Boolean, or Array
- Description: What to extract
- Field name: e.g.,
- Click Extract
Extract all invoice information. Use YYYY-MM-DD for dates and USD for amounts.Schema:
| Field Name | Type | Description |
|---|---|---|
invoice_number | Text | The unique invoice identifier |
date | Text | Invoice date in YYYY-MM-DD format |
total_amount | Number | Total amount due |
For more schema examples and best practices, see the Data Extraction guide.
Step 5: Chat with Your Documents
Click the Chat button in the top-right corner to start asking questions. Two chat options:- Sources page → Chat with all documents
- Source details page → Chat with one specific document
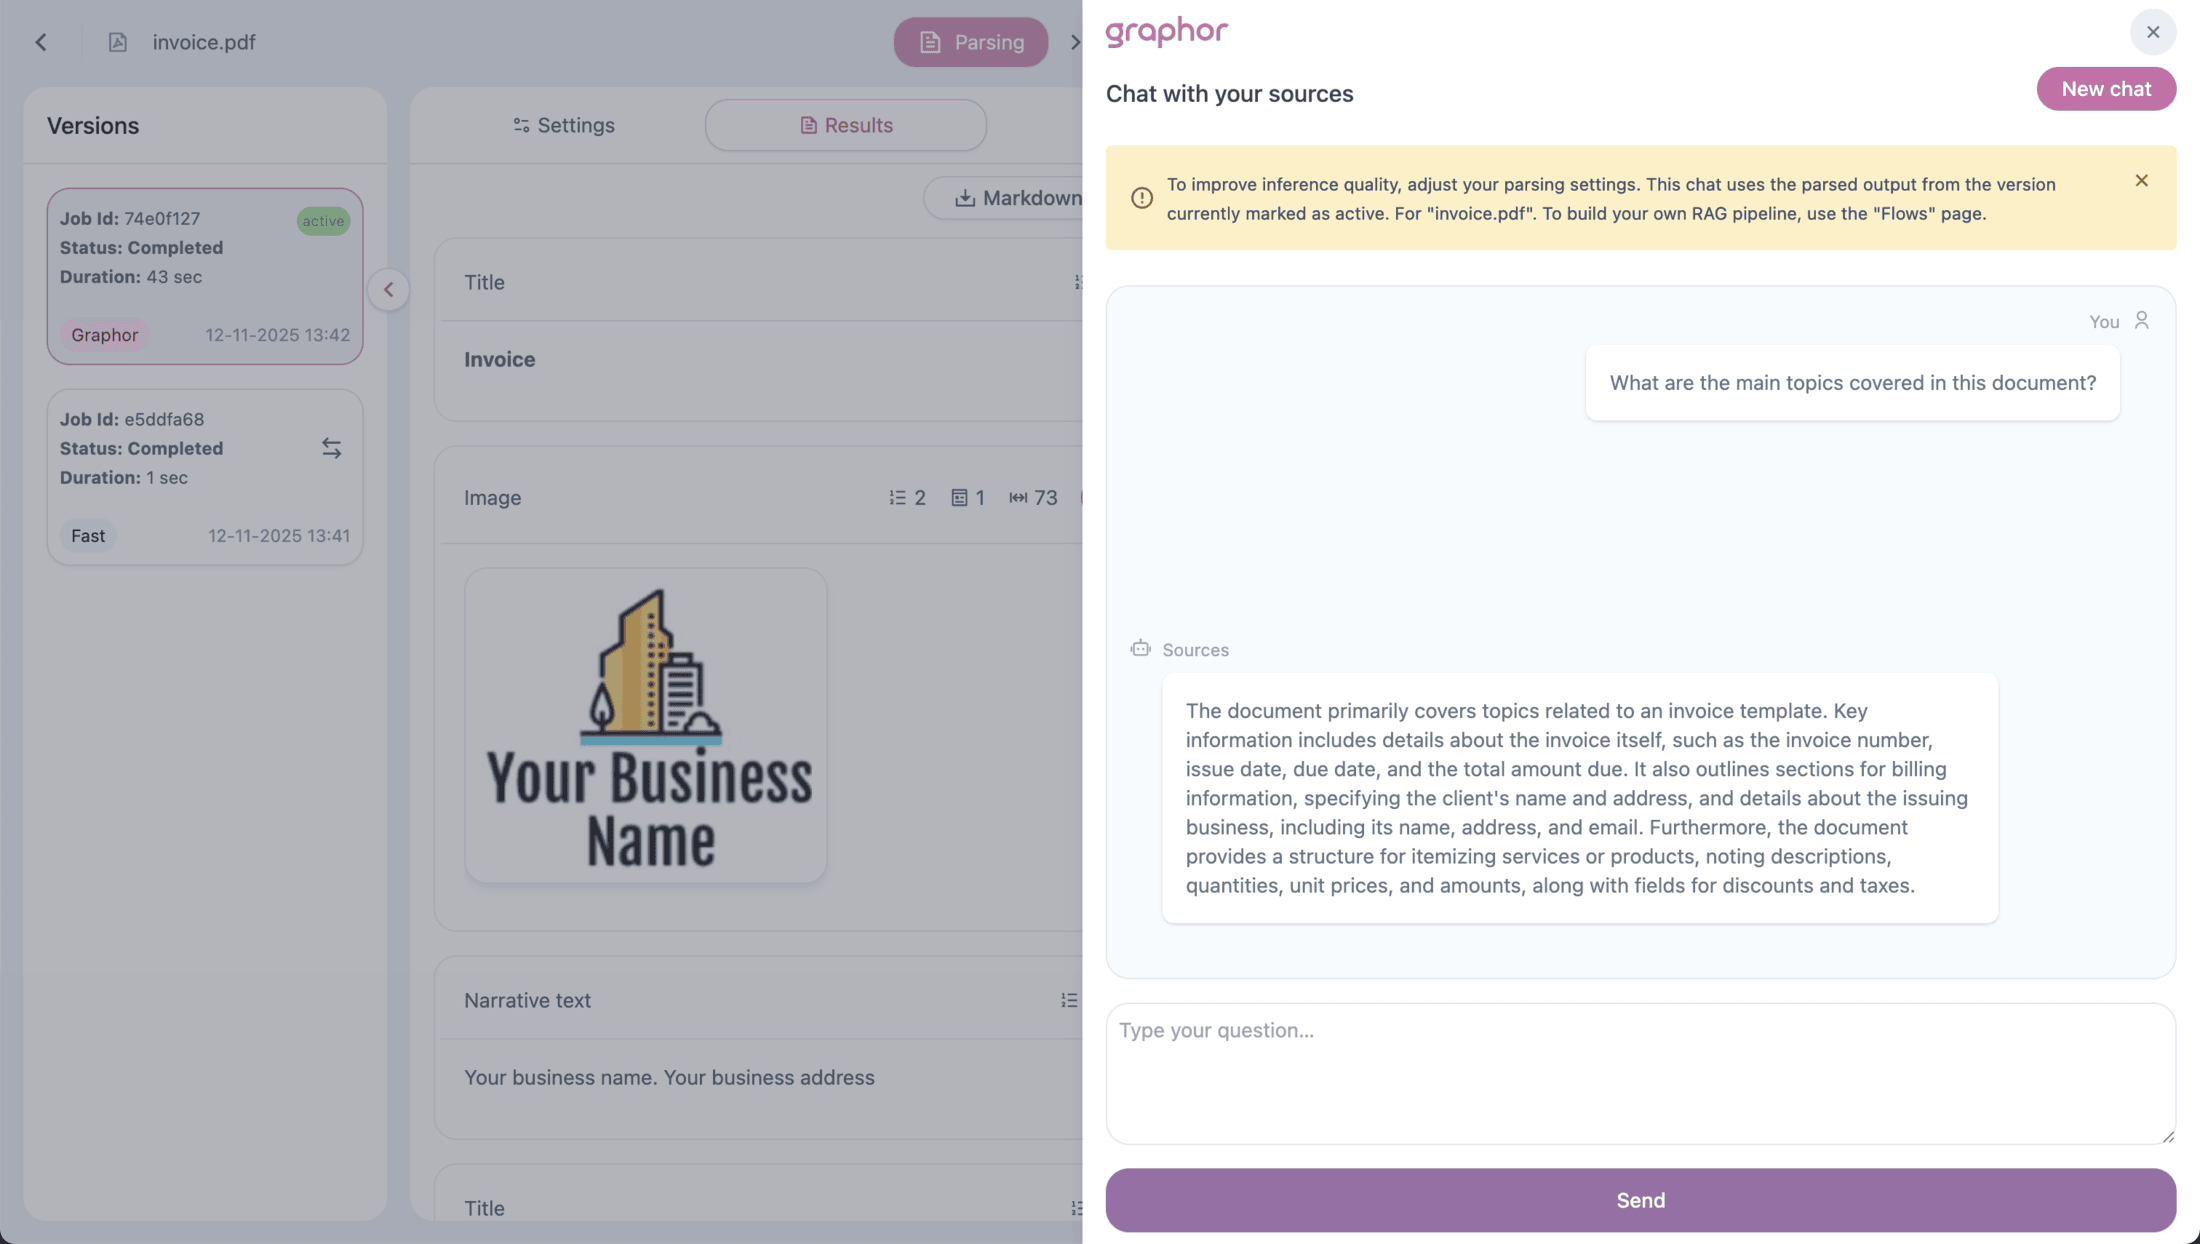
You: What are the main findings in this document? Chat: The document presents three main findings… You: Tell me more about the first one.The chat maintains conversational memory, so follow-up questions understand previous context.
For tips on getting better answers, see the Document Chat guide.
What’s Next?
Data Ingestion
Deep dive into parsing methods, multiple source types, and OCR options
Data Extraction
Advanced schema design and extraction best practices
Document Chat
Tips for asking better questions and API integration